FCM Configuration
The steps you need to follow to register with Firebase Cloud Messenger are explained below:
Create a new project
To create a project, perform the following steps:
- Sign into Firebase console using your Gmail ID.
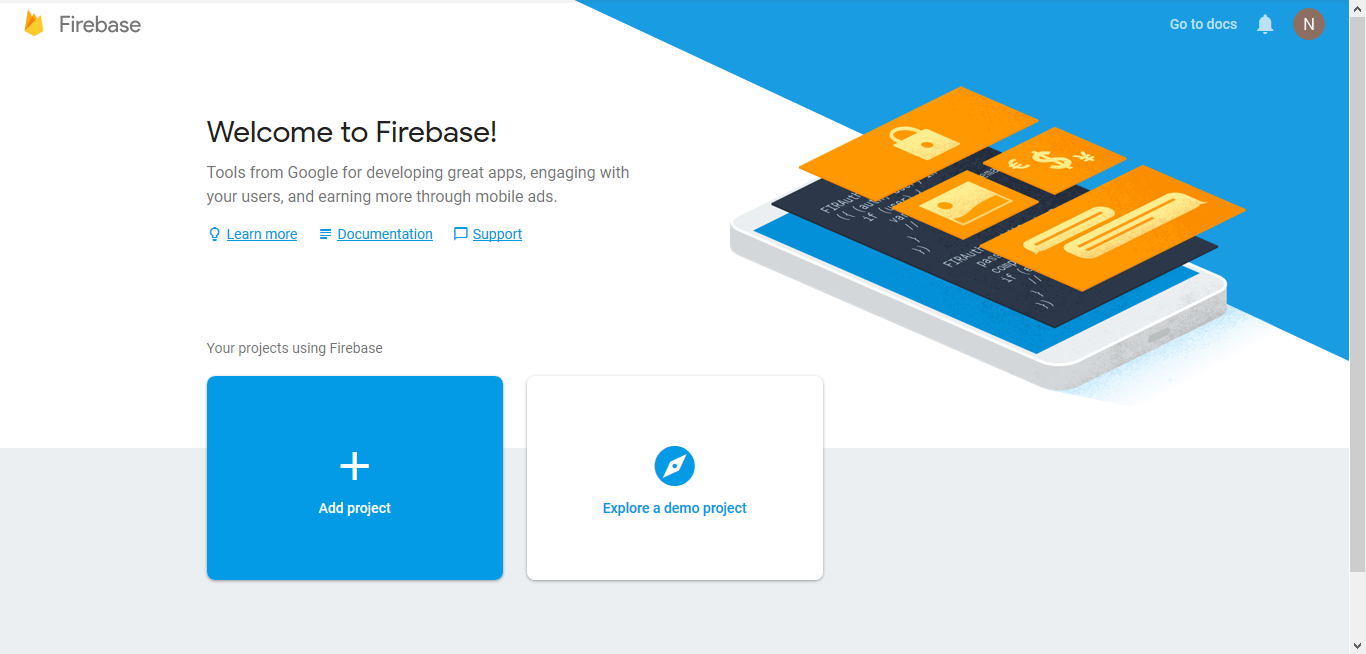
- Click Add Project, enter the project name , click on continue
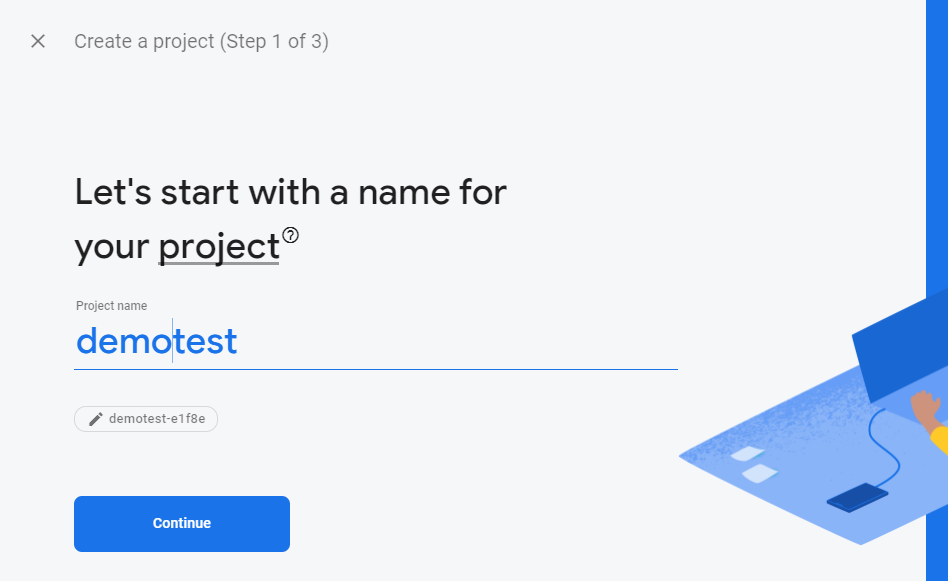
- Click on Continue in Step 2
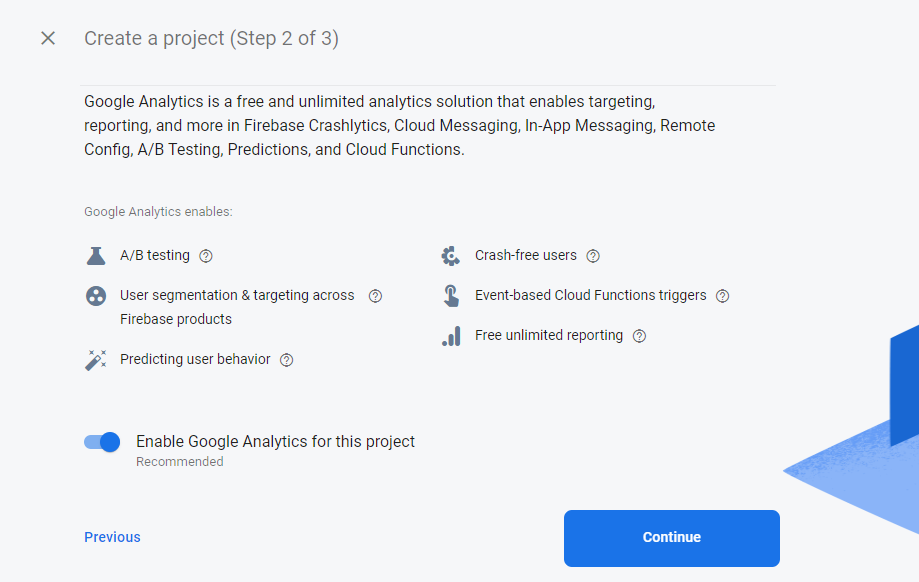
- In Step 3, select default account and click on Create Project
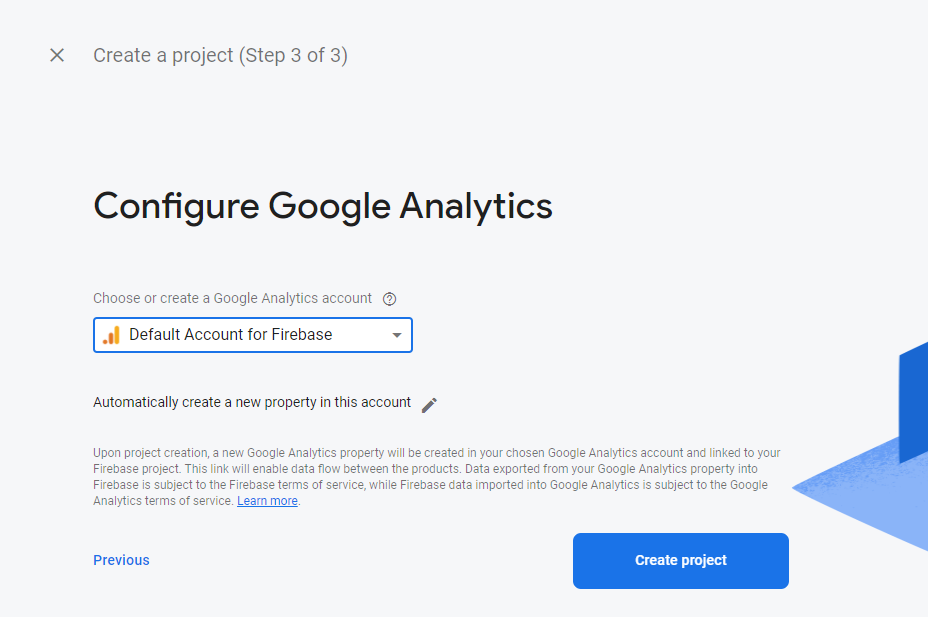
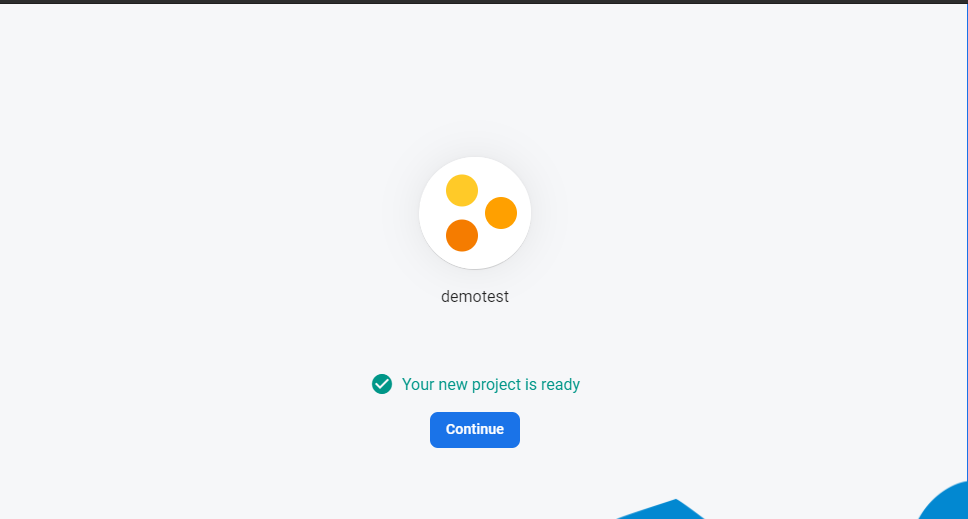
- Click on Continue
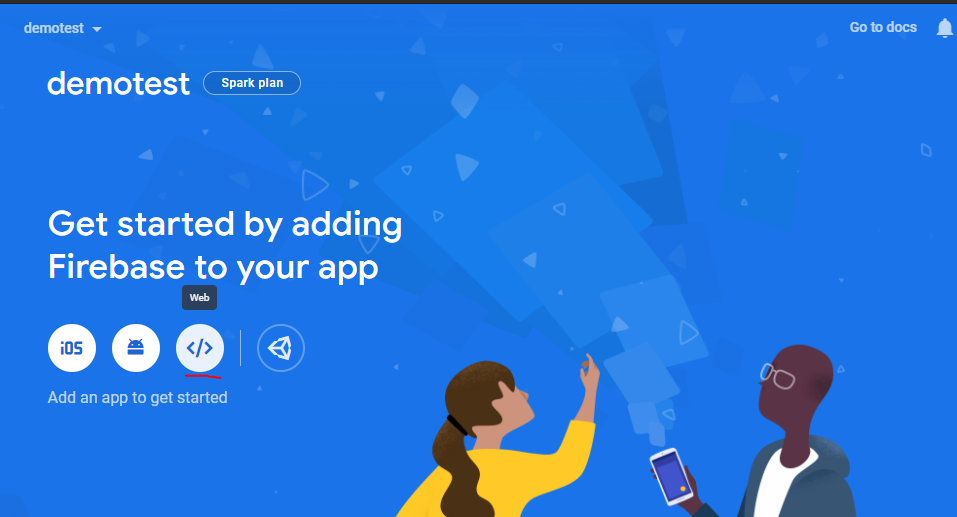
- Add Firebase to your web app & click on Web
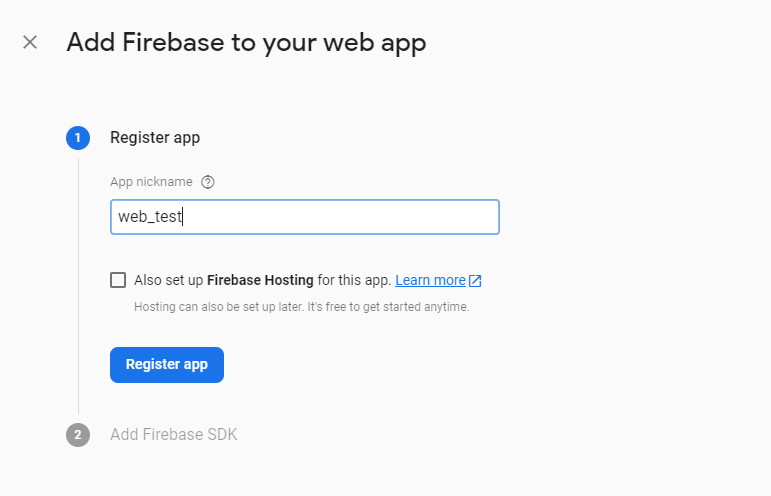
- Enter web app name ,click on Register app
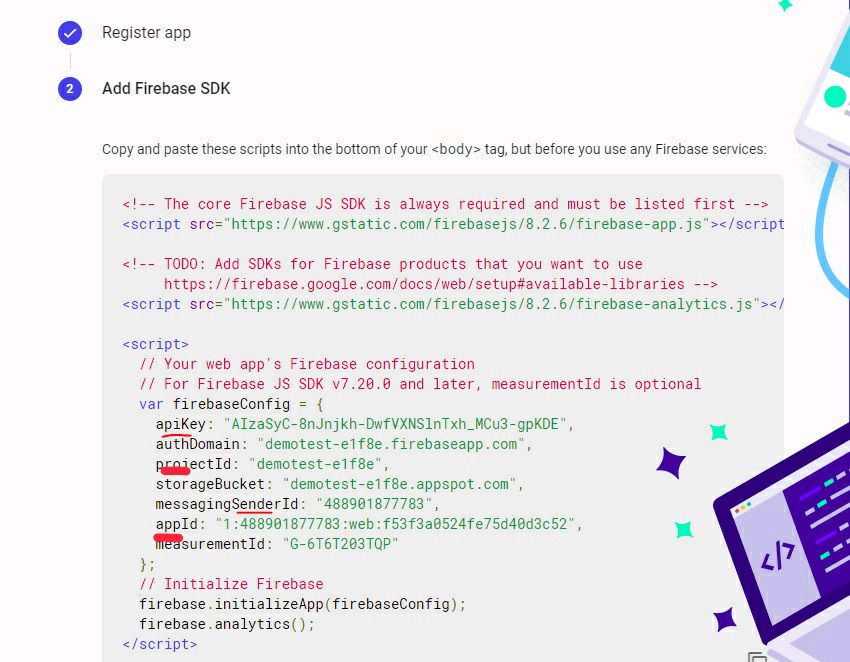
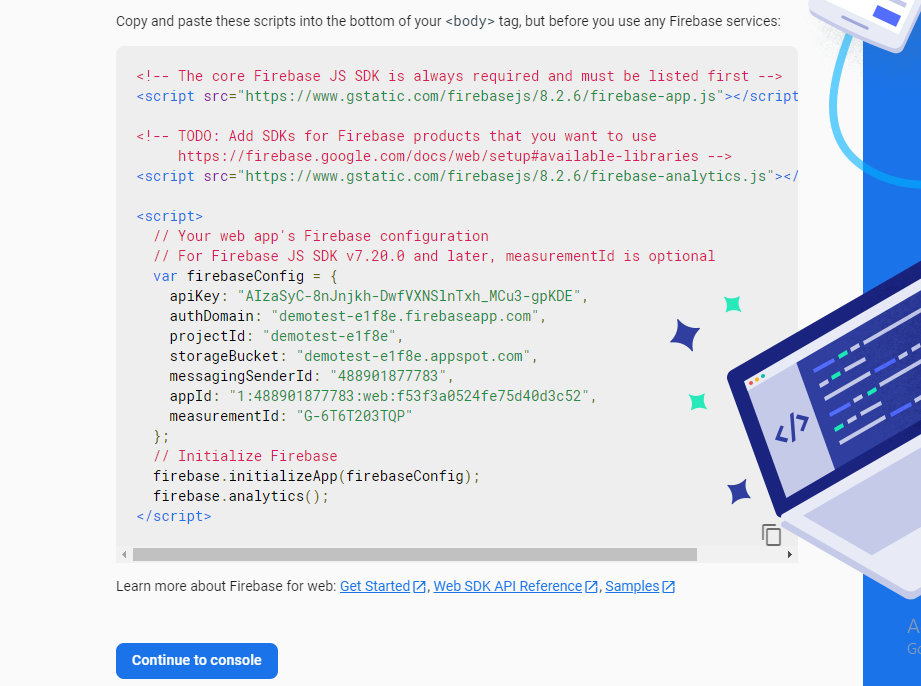
- In Step 2, you will get API key, sender id, Project ID & App ID, Click on Continue to console
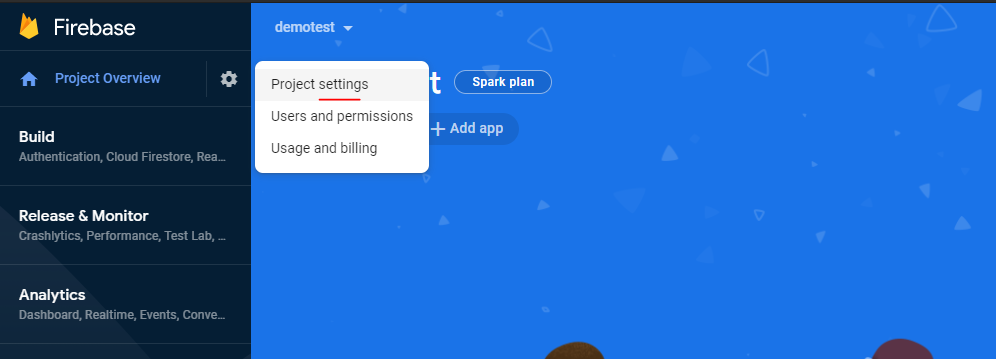
- Click on Project setting under Project Overview, to get the Auth key
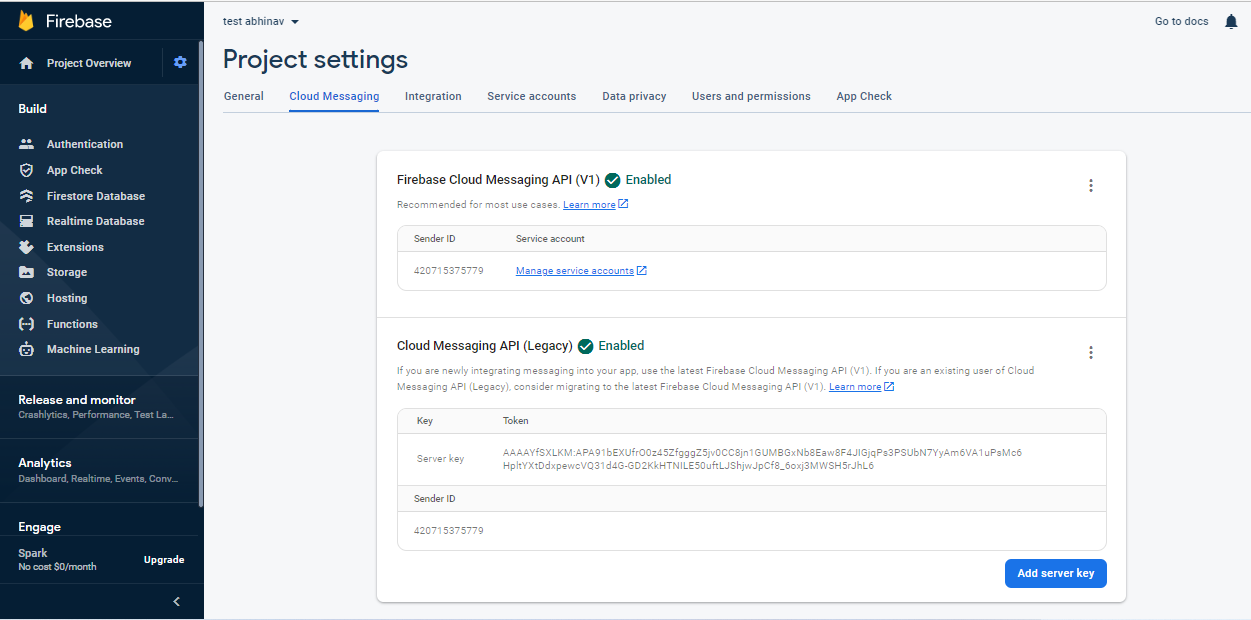
- Click Cloud Messaging and enable Cloud Messaging API (Legacy) by clicking on the three dots
" ⋮ " next to it in order to get your Server key [It is Authorization Key for Netcore CE]
- Once the above details are with you, you can go back Netcore CE Platform to continue with your Integration. Click here for following the steps of the same.
ADD sw.js File
Once FCM credentials have been added and saved, Netcore CE panel generates sw.js (Service worker JS) which needs to be added in the root directory of your website.
How to get Sw.js file:
To get the sw.js file, PFB, The path
Go to your Netcore CE Platform --> Assets --> Web --> Websites --> Get JavaScript SDK --> Download Zip
Once Zip file is downloaded, rename the file to sw.js and put the same in the Root directory of your website.
Once the above steps are complete, you are ready to go LIVE for Browser notification on Firefox and Chrome.
When to enable "Custom Service Worker"?
Consider having a base website for which you have different views for different locations. These views will be added as separate assets in the Netcore panel.
Now, your sw.js file is present on the root directory of main website which will end up being used for one of the views, but what about the rest?!This is where enabling "Custom Service worker" comes into picture. Once you enable it, you can have different sw.js files handled by implementing double opt-in and individual sub-domain can have independent sw.js according to panel and site.
Validating sw.js Integration
Verifying Service Worker
Once you copy-paste the codes as shown in the previous step and also added the service worker file to your website root, follow these simple steps to verify the process of integration:
- Open your website in Chrome browser and open Developer Tools from the browser menu or by pressing keyboard shortcut key F12.
- A panel (Dev Tools) will appear in your browser window.
- Under this Dev Tools panel, switch to ‘Application’ tab and click on Service Worker from the list of Applications available on the left.
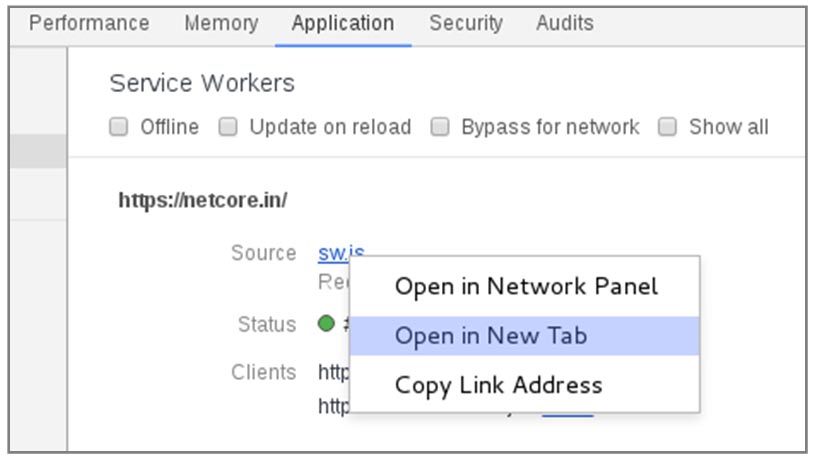
- Above step shows sw.js as a source here.
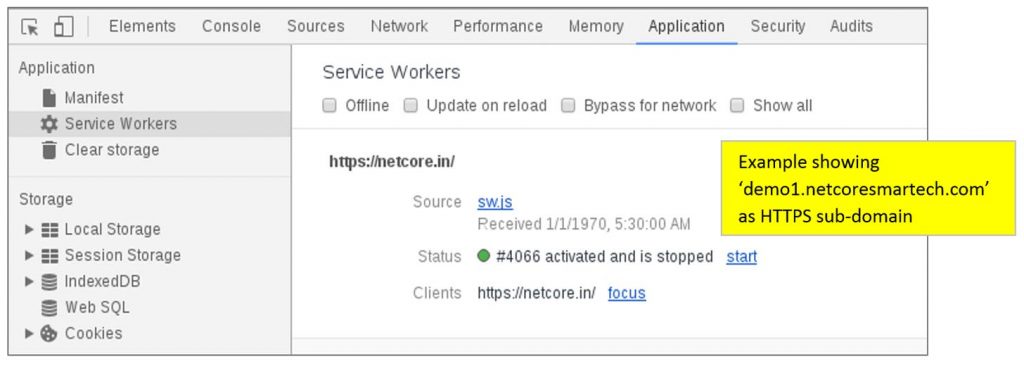
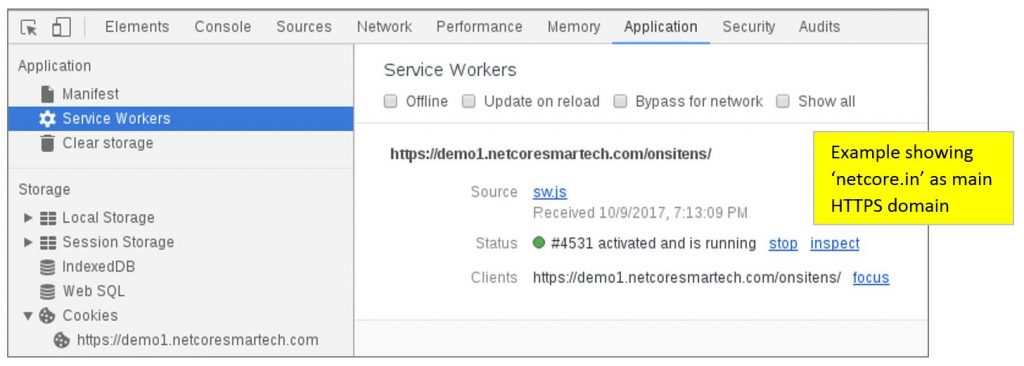
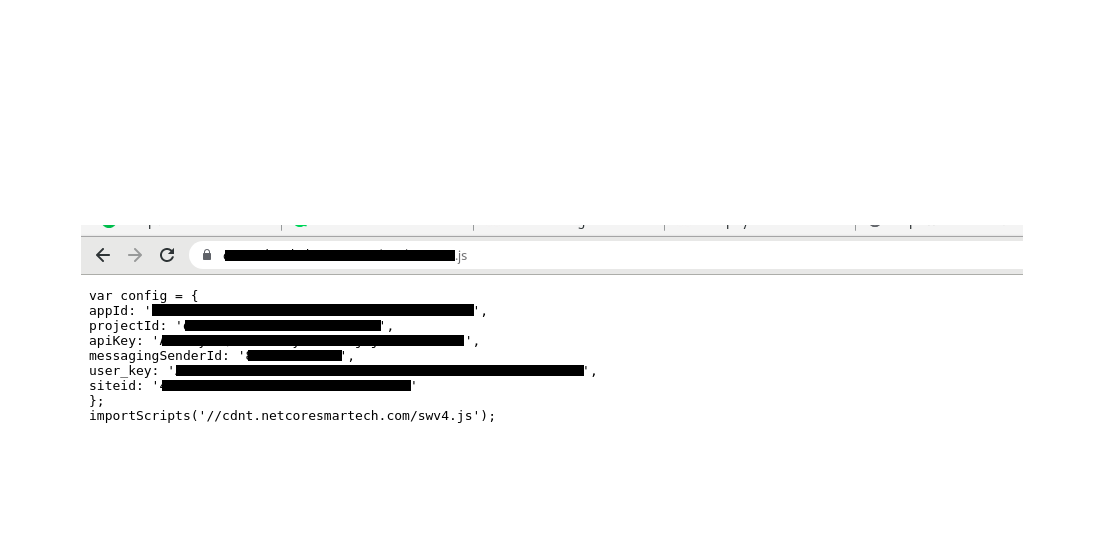
Right-click on sw.js and click on ‘Open in New Tab’. This will open the service worker file in a new tab showing the code with-in it.
Download & place sw.js file at Website root directory
You will get this file from the 'get Javascript Code' popup. Place the downloaded sw.js file at the root directory of your website.
Doing the above task will ensure two things -
- You will be able to Show Web Messages on your Website.
- You will be able to send Web Push Opt-In Message. (Click here for following the Opt-In Steps)
While in most cases adding the above code and the Service Worker (sw.js) file would suffice and will start capturing the user tokens to send push notifications.
However in some cases, if you have been using Vapid technology or One Signal so far to collect tokens and send push notifications as against the FCM and APNS gateway, you will have to further add the following snippet of code along with Js code so that the migration of tokens can be done successfully.
Note
Once done with the above steps, if you want, you can now head over to the Web Push Section, to get started with running Web Push Messages.
In case of any queries, please contact [email protected]
Updated 6 months ago
