Setting up Test Devices
Netcore Product Experience platform lets you create Test Devices for your android apps. Devices that are part of Test Devices will receive the updated value of nudge journeys immediately. On all other devices, the configs are cached locally for high availability.
Adding devices to Test Devices also comes in handy when you want to preview nudges and feature flag changes before you push journeys to production.
Step 1: Configuring Custom URL scheme
Test Device and Custom URL Scheme
Please note if you are using Android Smartech Nudges SDK v8.8.0 and above, please follow the below mandatorily in order to add test devices.
You are required to define a custom URL scheme for pairing your device as a test device. Kindly follow the below steps to configure a custom URL scheme.
Changes in AndroidManifest.xml
Add the following intent filter to the activity that you want to handle the deep link for adding a test device in the AndroidManifest.xml file.
<intent-filter>
    <action android:name="android.intent.action.VIEW" />

    <category android:name="android.intent.category.DEFAULT" />
    <category android:name="android.intent.category.BROWSABLE" />

    <data android:scheme="<your-custom-scheme>" />
</intent-filter>
Changes in the Activity that is assigned to handle the deep link
class YourActivity extends Activity {
    ...

    @Override
    protected void onCreate(Bundle savedInstanceState) {
        ...
        Hansel.pairTestDevice(getIntent().getDataString());
        ...
    }

    ...

}
Update Custom URL Scheme on PX panel
Go to App settings, and update the custom URL scheme specified above on your Product Experience panel. Click on Update to save the changes.

Step 2: Open the Hansel Dashboard
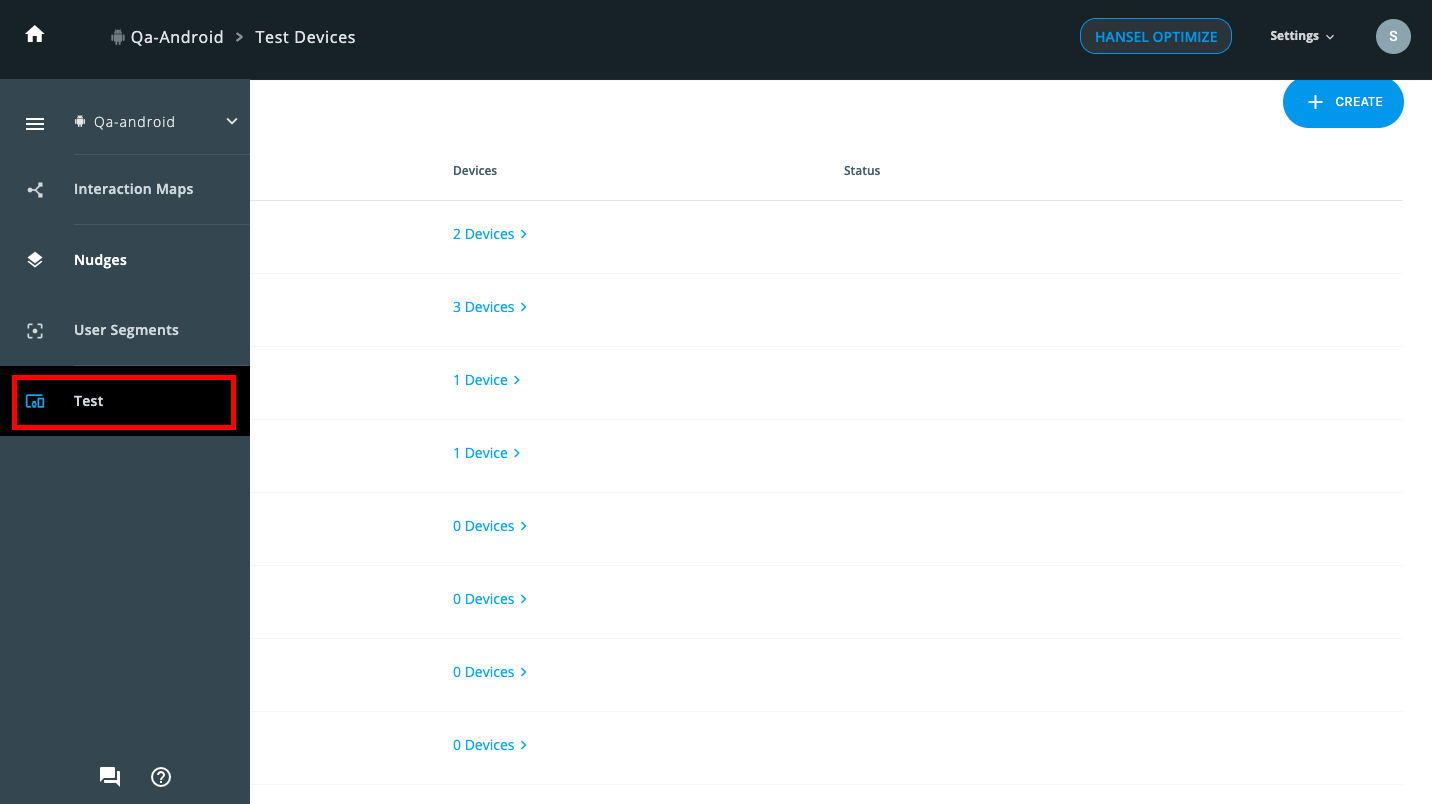
- Open the Hansel dashboard and navigate to an app, and click on "Test" in the left-hand pane (as shown below).
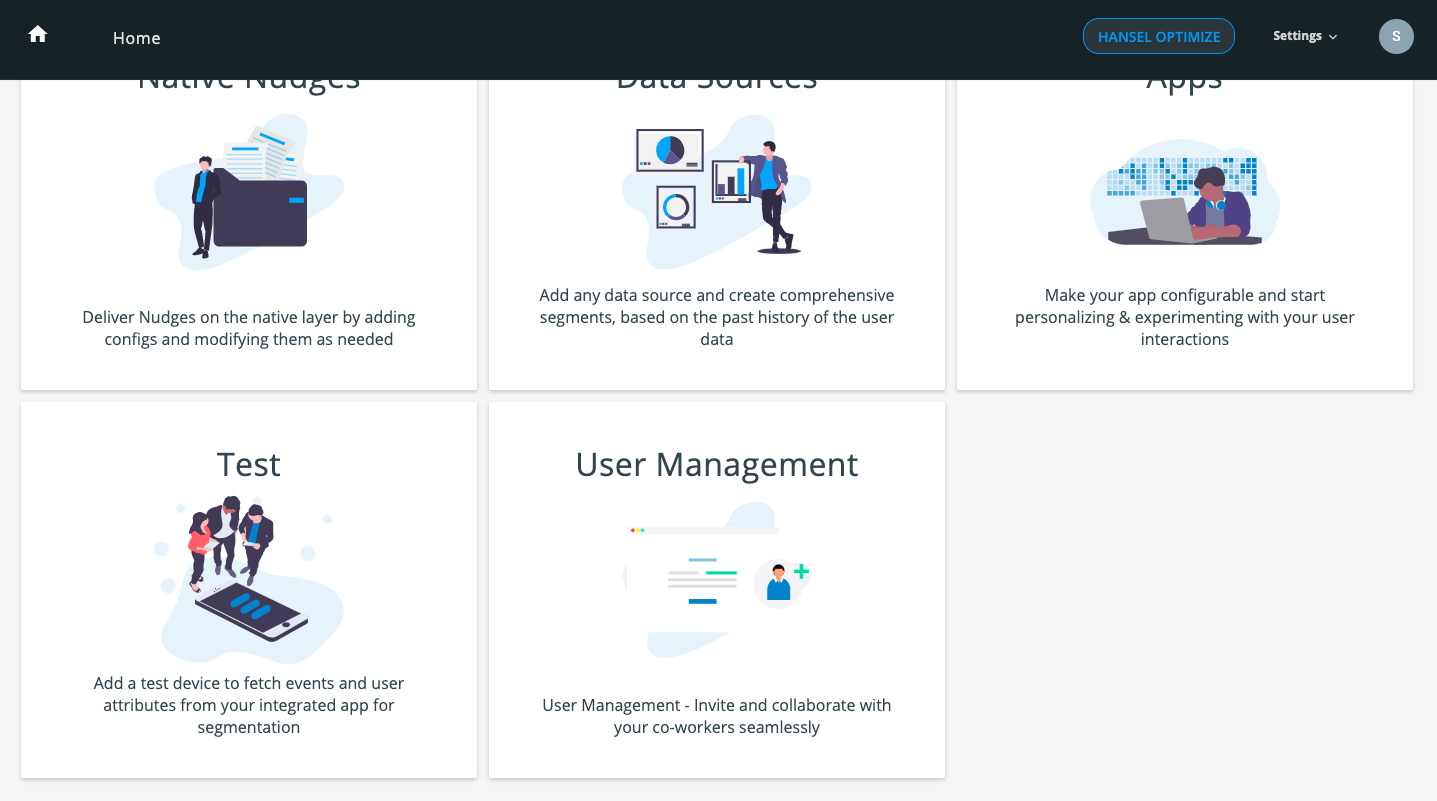
- You can also reach here by clicking on the "Test" card on the Homepage.
Step 3: Name your Device Group
In the Test Devices section click the plus button on the top right. Enter a name for your test device group. After giving the name click on the add button to save the test device group.

Step 4: Add a device to your group
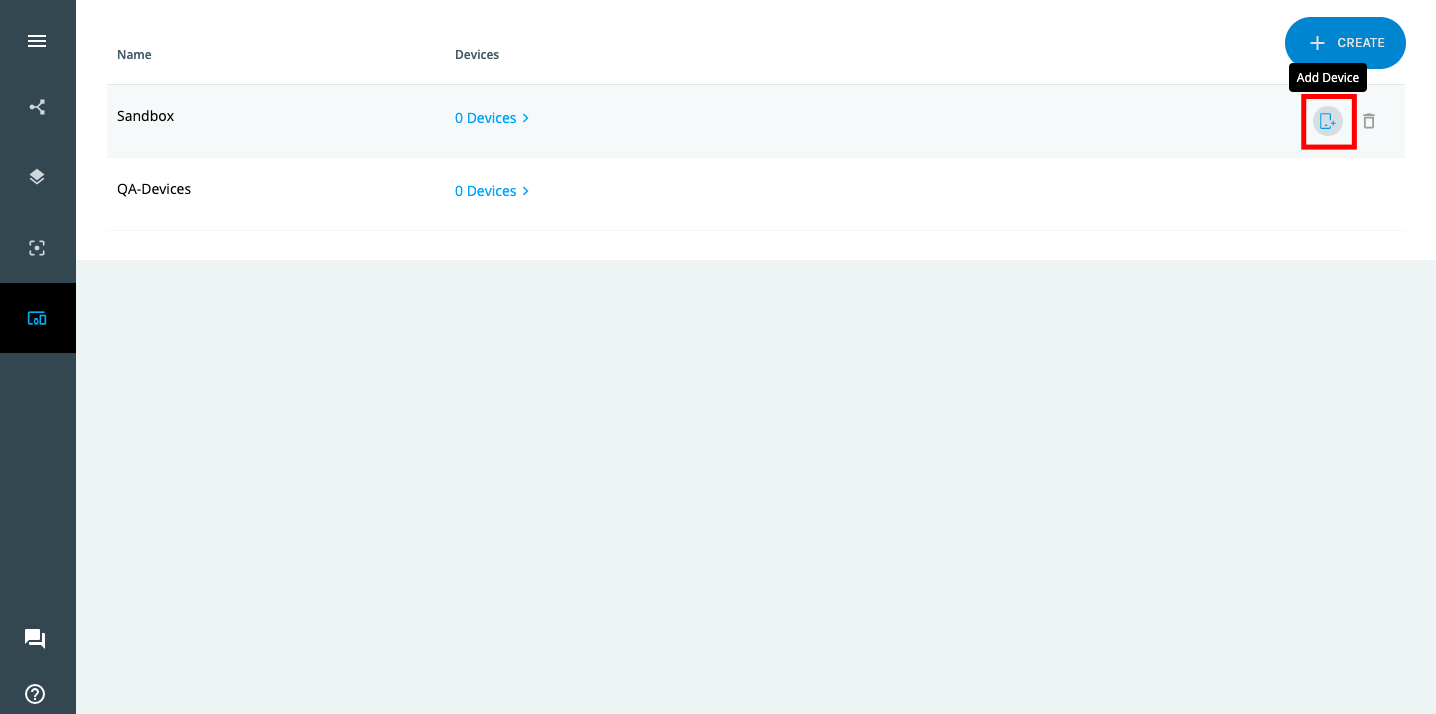
Click on the 'Add device' icon on the top right side as shown in the below image.
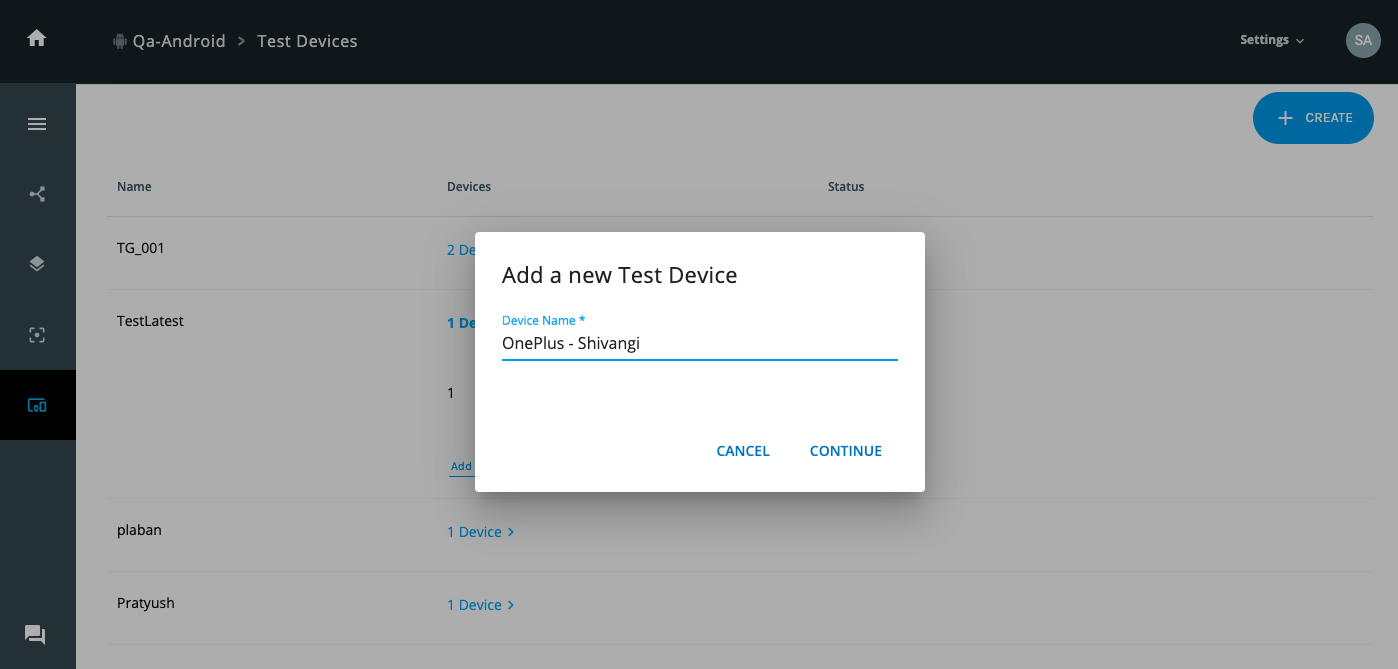
Step 5: Enter the device name
After you enter the device name, please click "Continue". You will receive an email with a link to pair your test device. This link will be valid for 30 mins.
Step 6: Open the Link from the device you wish to Add
- To pair the device, open the link which you received in your email from the device you wish to pair in a browser.
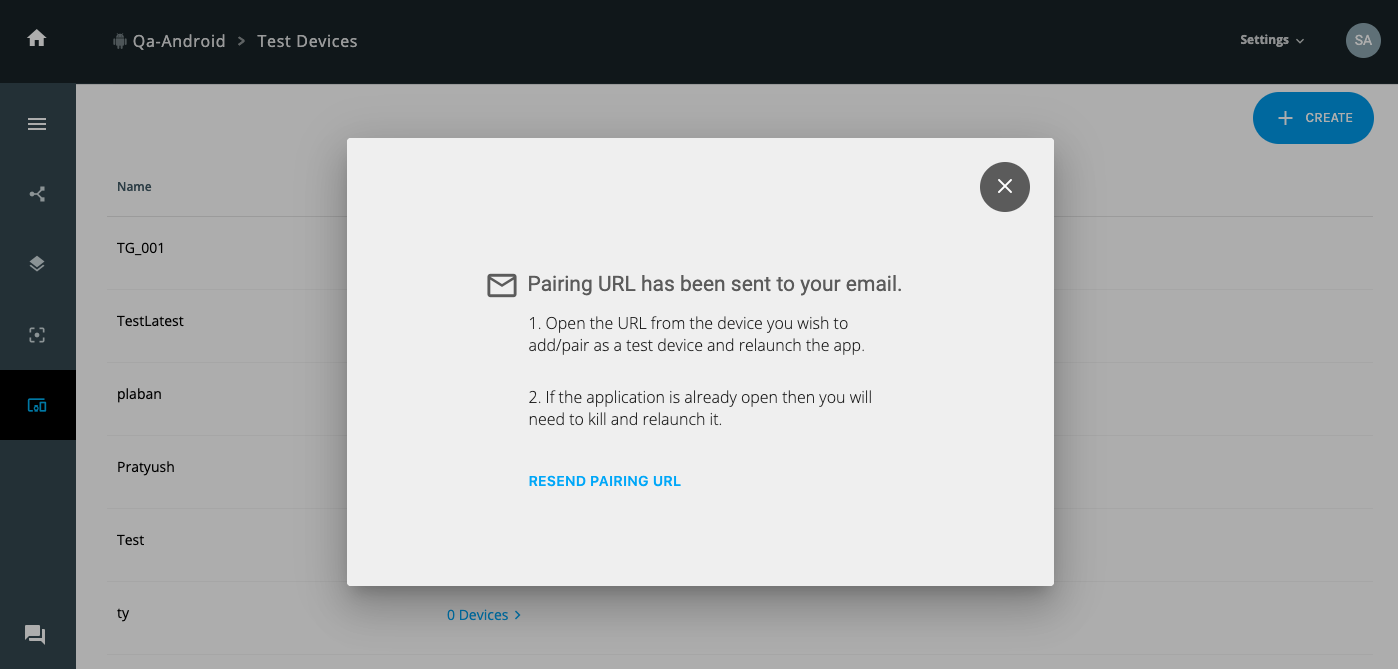
- When you open the pairing URL on your device, you will see the webpage as given below, select the appropriate SDK version based on your android app and click on proceed.
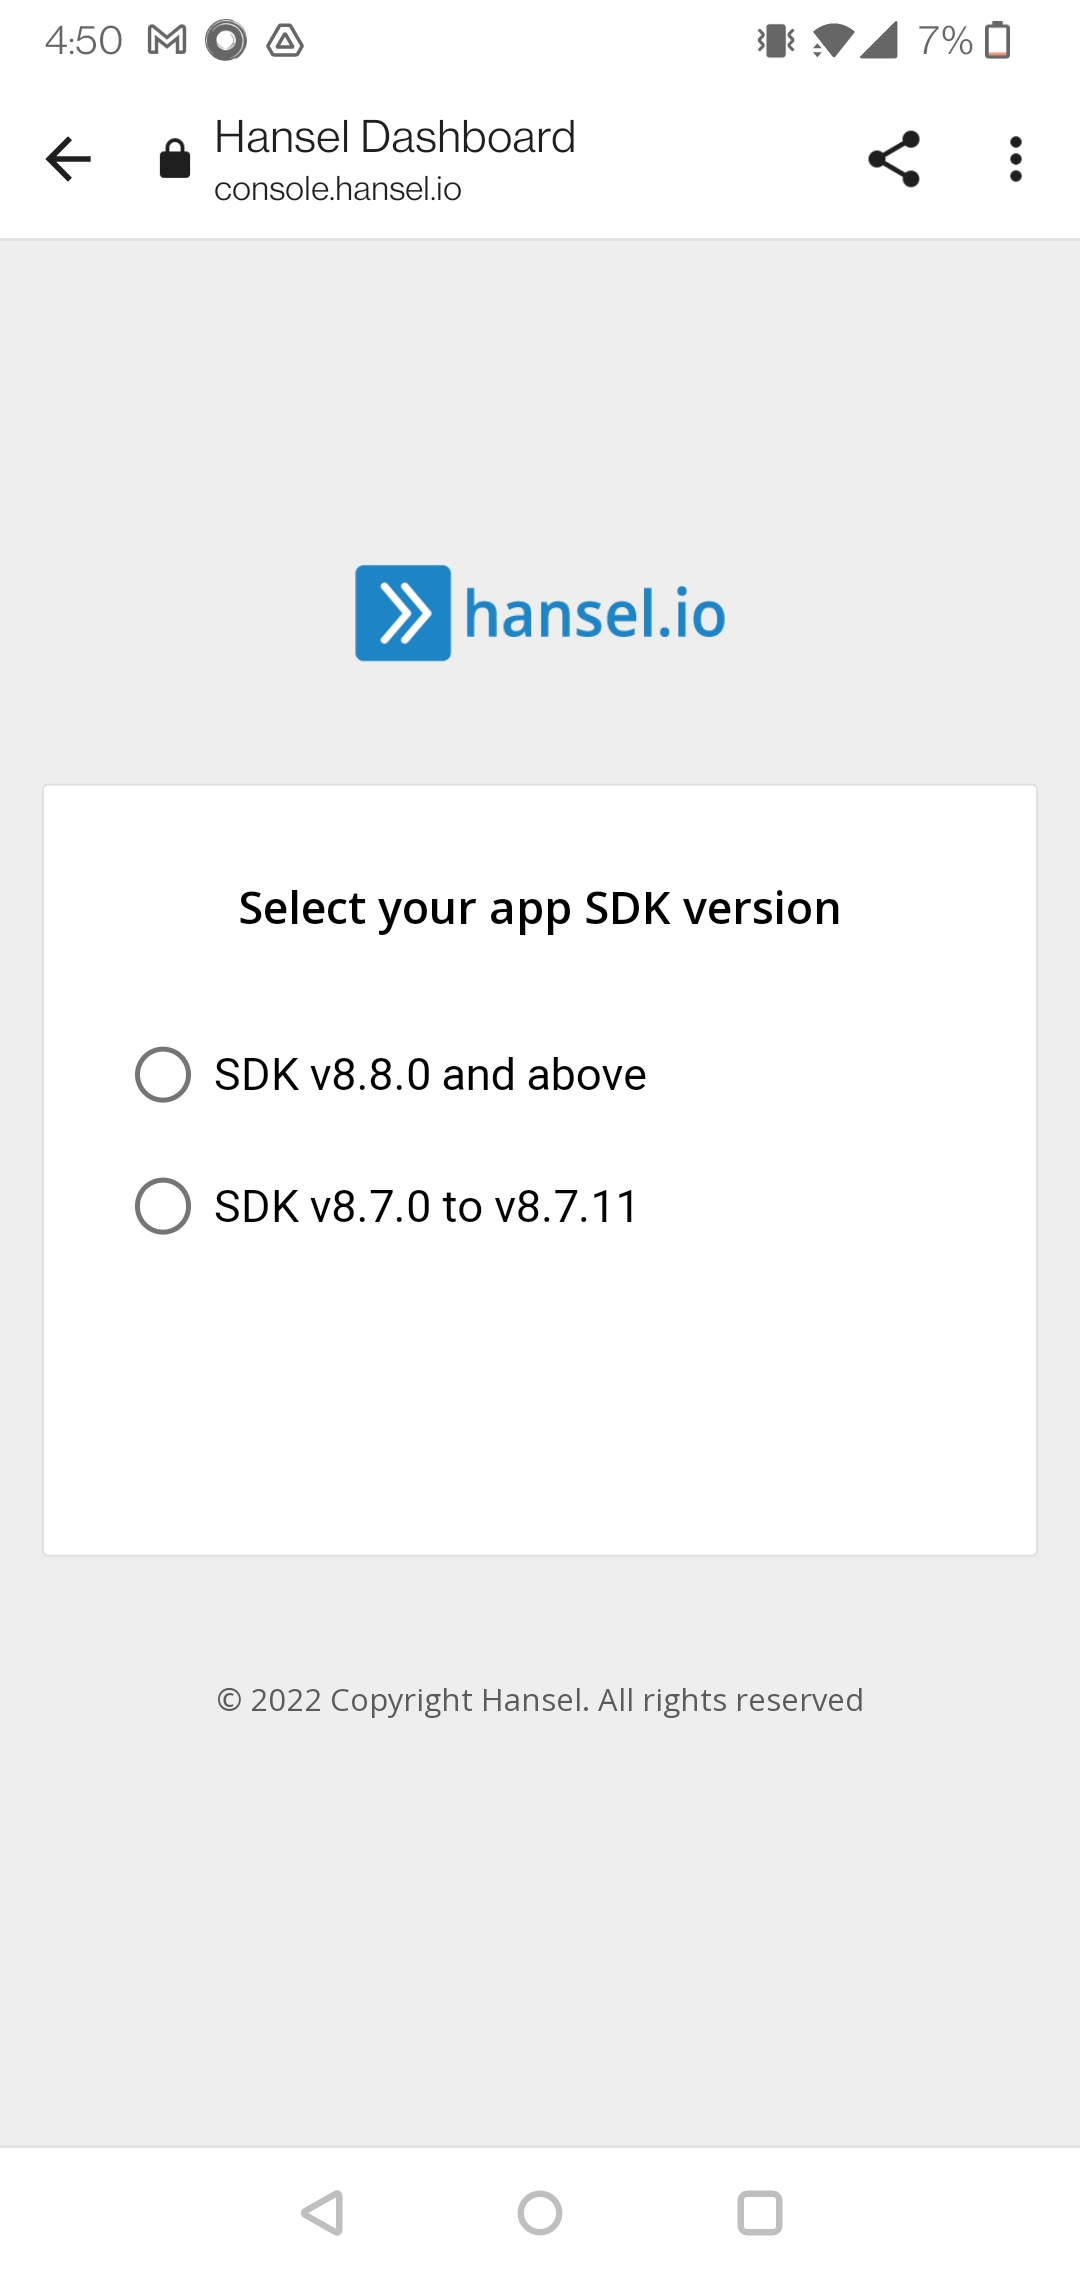
- If you are on v8.8.0 - you will be taken to your app if custom URL scheme is correctly configured.
- If you are on version less than v8.8.0 - You need to launch the app from that device (If the App is already open then kill the app and relaunch it).
- After executing these steps successfully, reload the test device page on the Hansel Dashboard. The status of your device should change to "Paired".
Updated over 1 year ago
